Monday, November 28, 2011

Khador gets a coat of paint

Freshly flocked with beach sand, I applied two coats of flat, white, latex paint (left over from a home project).  I'm on the fence as to how good this approach is, as its REALLY white and maybe even a little too white for a battlefield.  But I'm goin' with it!

The rutted road was created by laying down lines of Elmer's glue and then sprinkling sand over it.  I then put a layer of brown latex paint over the dried glue and drybrushed up from there.


Here are some table-level shots so you can see the texture and contour of it more clearly.


Next up: Ruins and Craters

Sunday, November 27, 2011

Trying out the Cryx board

I've got the finishing touches going on the swamp/jungle board, so I had a couple buds over to try them out!


Here's Tony about to lay the smack down on eStryker with his gators


Next up:  Swamps and Snow

Tuesday, November 22, 2011

Khador-y Board

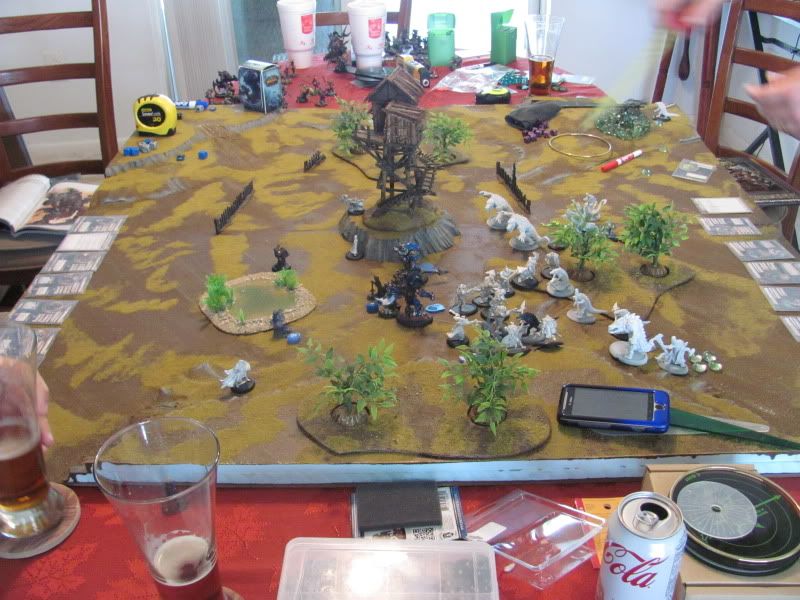
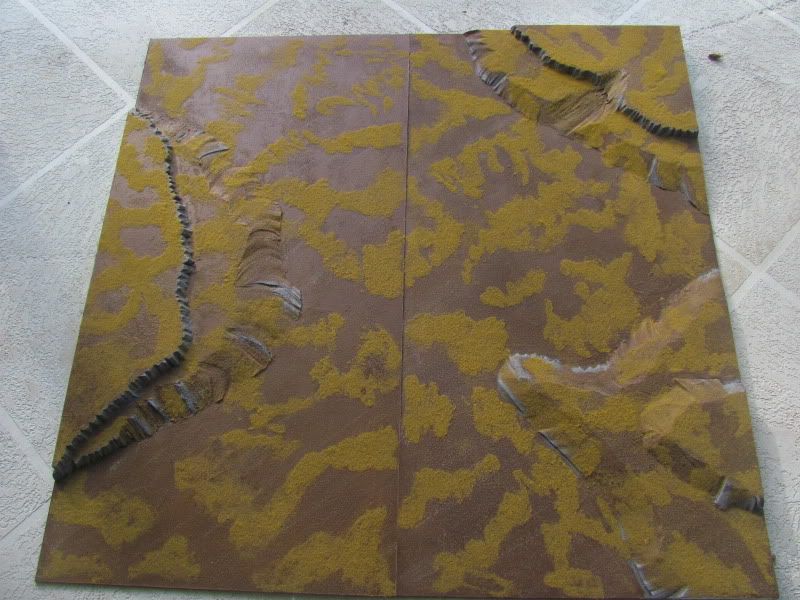
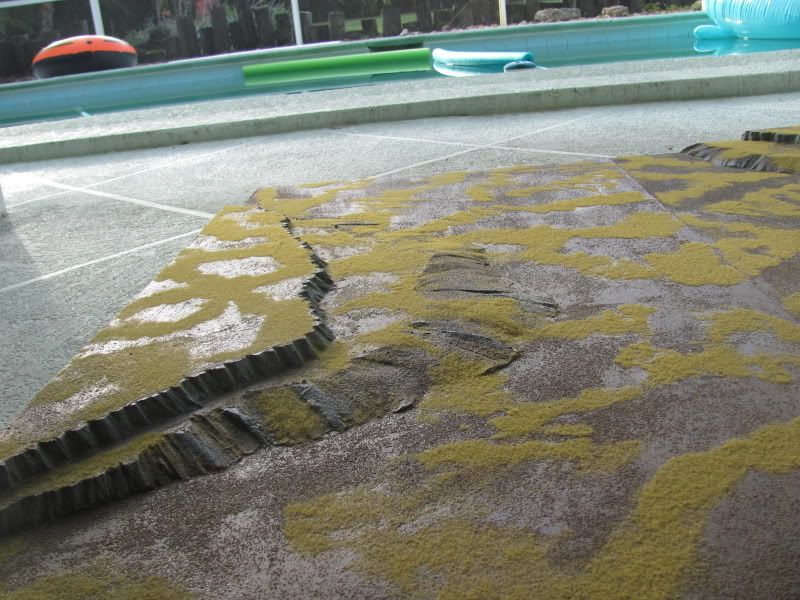
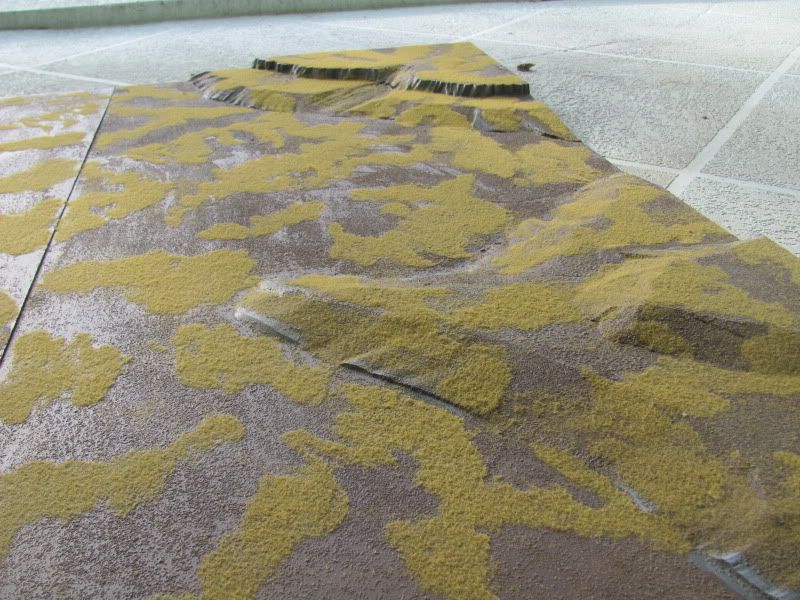
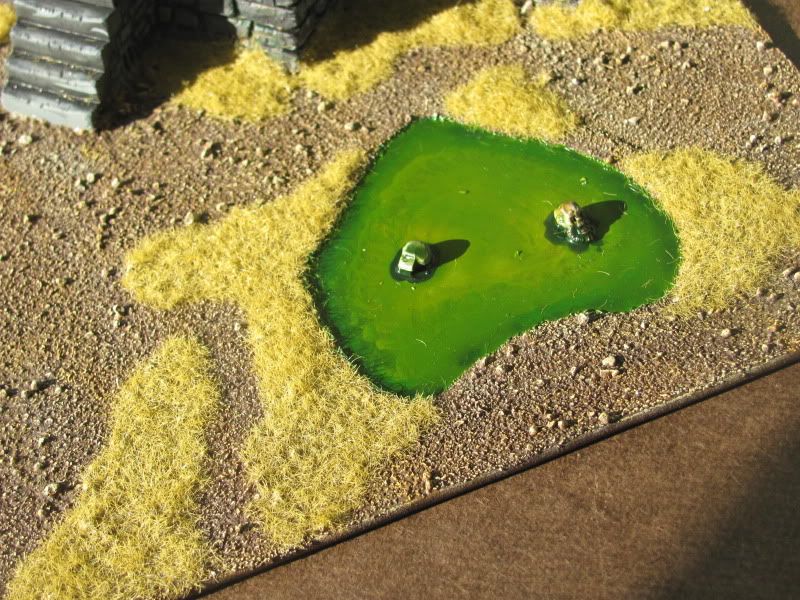
While progress continues forward on the Cryx board, I've also started to lay down the basics of a wintery Khador board.

The concept will be a snowy, muddy, Seige of Stalingrad kind of board with a lot of shelled buildings, craters, and improvised defenses.

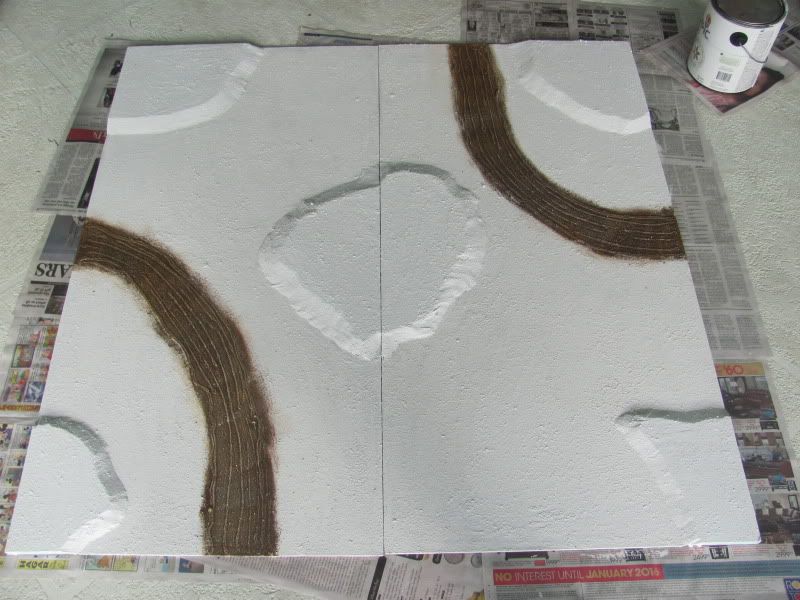
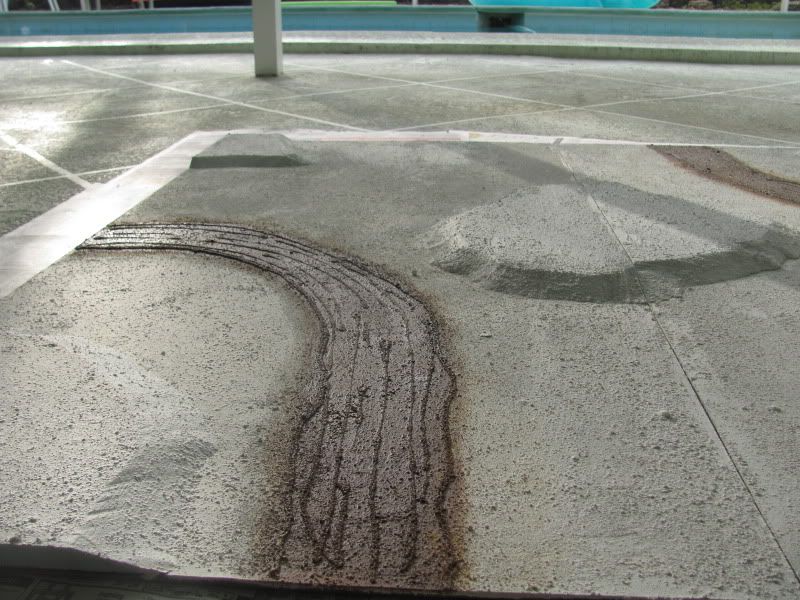
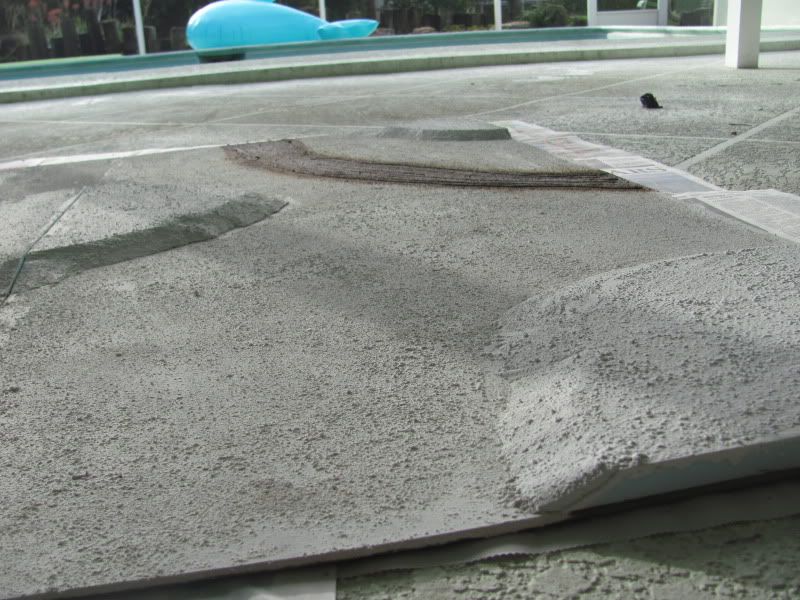
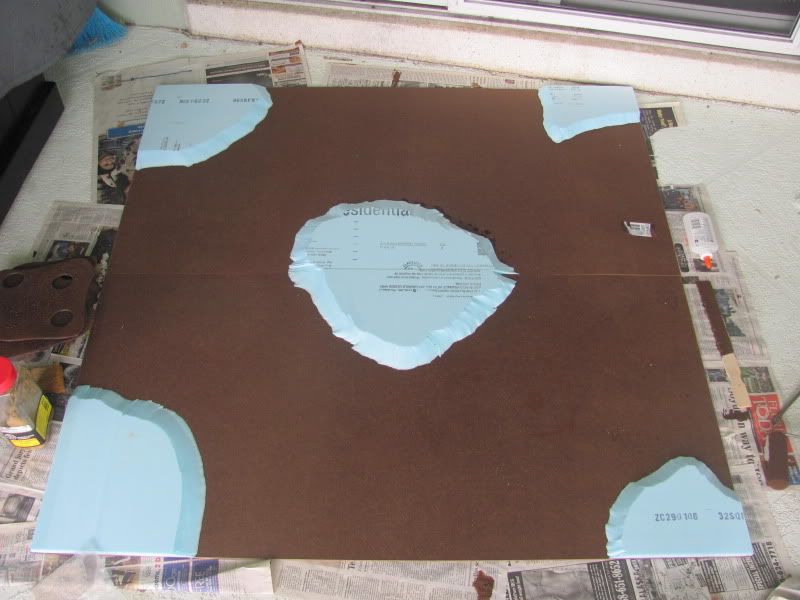
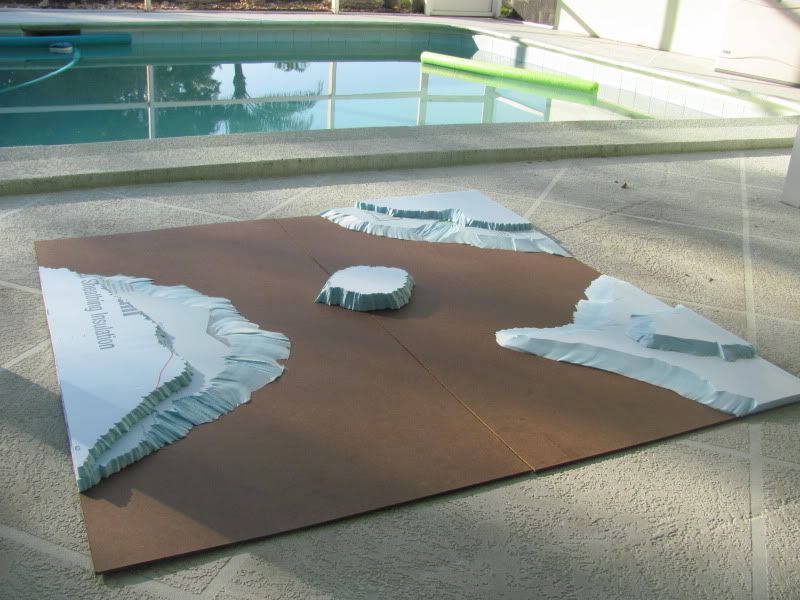
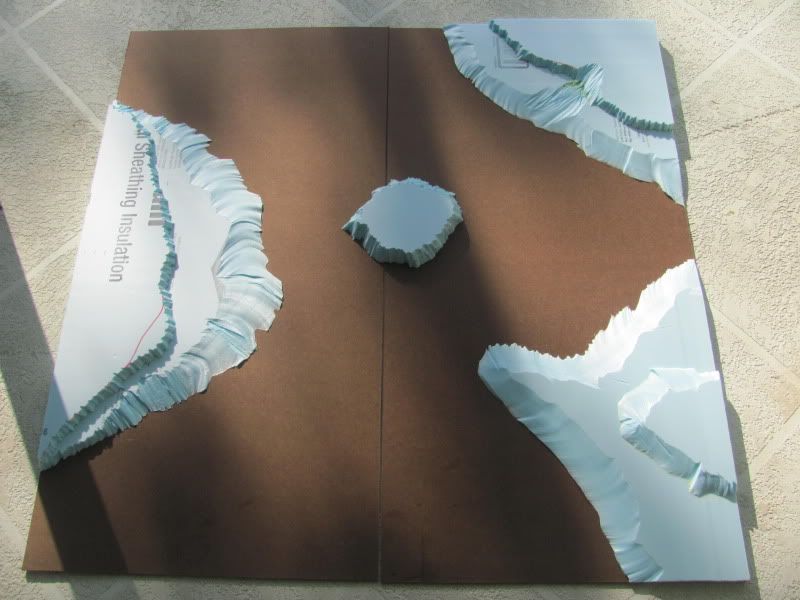
Here's the basic layout with the hills already glued down.

All the hills were created using a standard hot wire foam cutter at a very shallow angle for a gradual slope.  I want stuff to be able to stand on the embankments without too much trouble.  You may also note that the hills in the corners are designed to match up with their counterparts on the other side so the board can be re-configured.

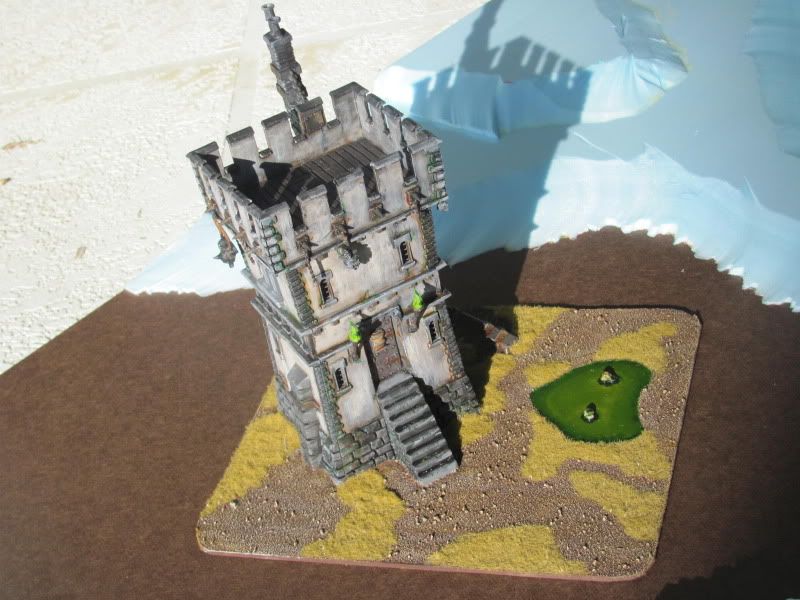
I considered making some of the hills 2-tiered, but decided the board would be filled with a lot of ruins and it would just get too busy.   I've got access to a bunch GW 40K ruins, and they will dot the entire board.

Next up for this board:  A trip to the beach for some more sand!

Monday, November 21, 2011

Cocked, Flocked, and Ready to Rock

I got all the dry brushing done and glued down the static grass as well.  I was going for swampy jungle, and I think I hit it pretty close to the mark!


The actual labor of applying the static grass was a huge mess.  For one thing, I did it outside with a slight breeze.  For another, I just applied Elmer's Glue and used my shaker bottle to dispense the grass.  Lots of shaking. . . .


Now I've got to get the woods and swamps ready, and we'll be done.

In the meantime, I've also started work on a Khador board, but those pics will be in the next post

Thursday, November 17, 2011

Cryx board - the beginning

This is one of the custom boards I'm working on for Crucible 2012.  The end result is aiming for jungle/swamp terrain not unlike what one would find in Cryx.

I went to Lowe's and purchased two 8'x4' 3/16" hardboard sheets and had them cut into 2'x4' pieces.  I also bought two sheets of blue insulation foam and had them cut to match - turns out their saw cuts them just as well as the hardboard!

Here you can see the general layout.  The foam was cut using the standard wire foamcutter for the gentle slopes and a 'wand' foamcutter for the jagged ridges.  I then glued it to the hardboard using wood glue.


The little hill in the middle is not actually glued down, but its part of the planned layout.  Eventually, it will have its own proper hardboard base.

Here I've painted a thin layer of watered-down white glue over the whole board and then scattered beach sand over it (living at the beach has its perks!).  I then painted the whole shebang with 2 coats of cheap, brown, latex paint.


Next up, Dry-Brush like a madman

Monday, November 14, 2011

Some Cryx-y scenery

I finally broke out my Fortified Manor kit that I won last summer at the SITE LotR GT (2nd place overall <sniff>).  But since I've been painting Cryx ever since I won it, I decided to put together the kit with Cryx and the Scharde Isles in mind.

For those of you unaware, the Scharde Isles are the jungle/swamp islands that are home to the Nightmare Empire of Cryx.  With that in mind, here are the pieces:


Here's a close up of the pond, which was made out by underpainting a couple shades of green and then coated with white glue tinted green with ink.


Next comes the chapel - which I decided to leave as more of a mad scientist lab, complete with telescope and cool clock!