Which is to say, its the method I settled on and it works pretty well. Use at your own discretion.
Good basing makes a huge difference in the appearance of a miniature. And unlike some of the fine detail work and time spent on painting, every bit of extra detail you add to your bases actually pays off. People may struggle to see the amount of layers you've applied in your paint job, but anyone can see basing details!
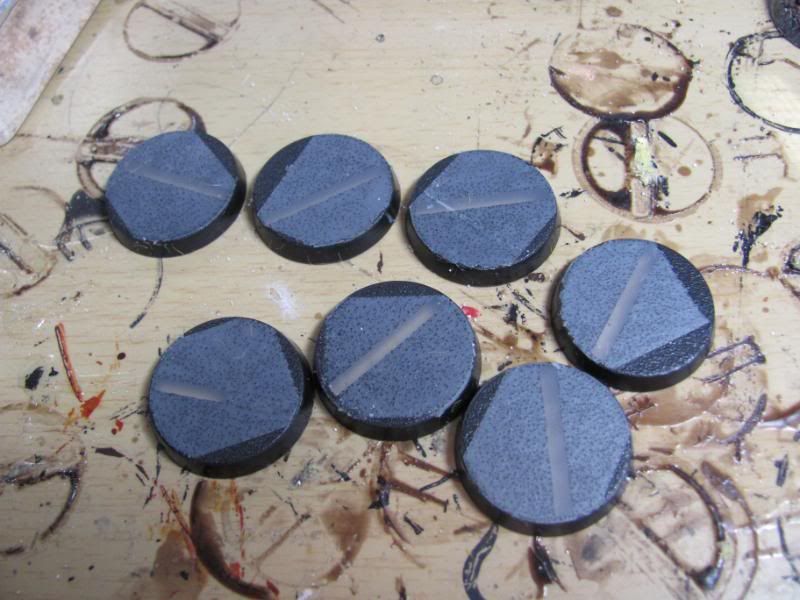
Step 1. Taping
If you use slotta-style bases, there's one big obstacle to your scenic basing job - the slot. I use regular transparent tape to cover it. Some folks use masking tape. I never seem to have masking tape when I need it, but I always seem to have transparent, gift-wrapping tape. Just pull off a length of it, stick it on, and trim around the edges with a hobby knife to get rid of the excess.
Step 2. Bring on the Glue
Using PVA (or Elmer's, or School, etc) glue, coat the tops of the bases. I like to apply the glue liberally to one of the bases and then smear it against another base so I only have to apply the glue to about half of them. You get a nice even coat on both bases this way.
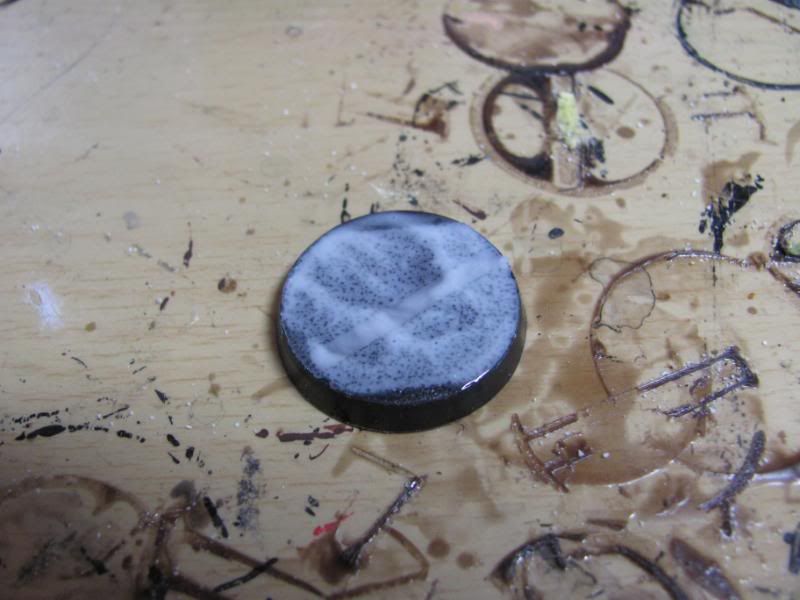
Now is also a good time to add cork. I use generic drink coasters that you can buy at craft stores (Michaels, Hobby Lobby, etc.) and break them into small pieces. Just stick the cork to the glue-coated base and then coat the top of the cork as well.
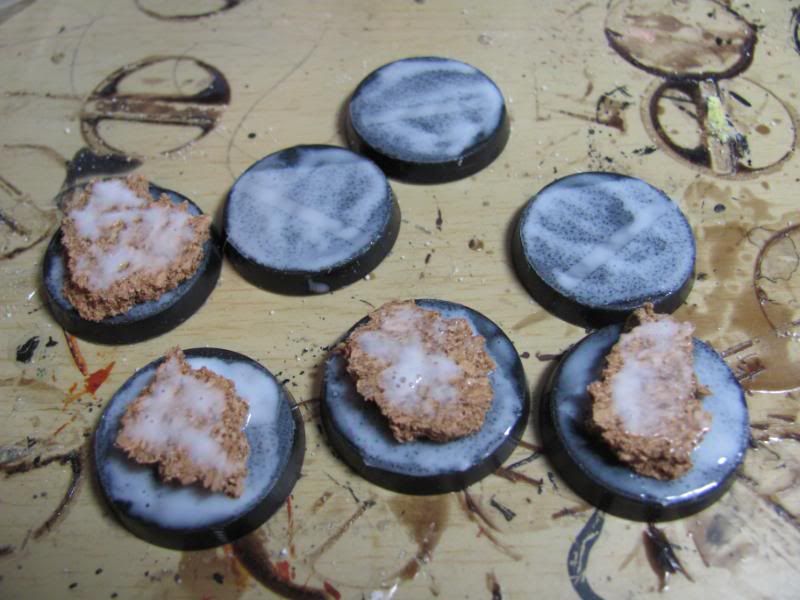
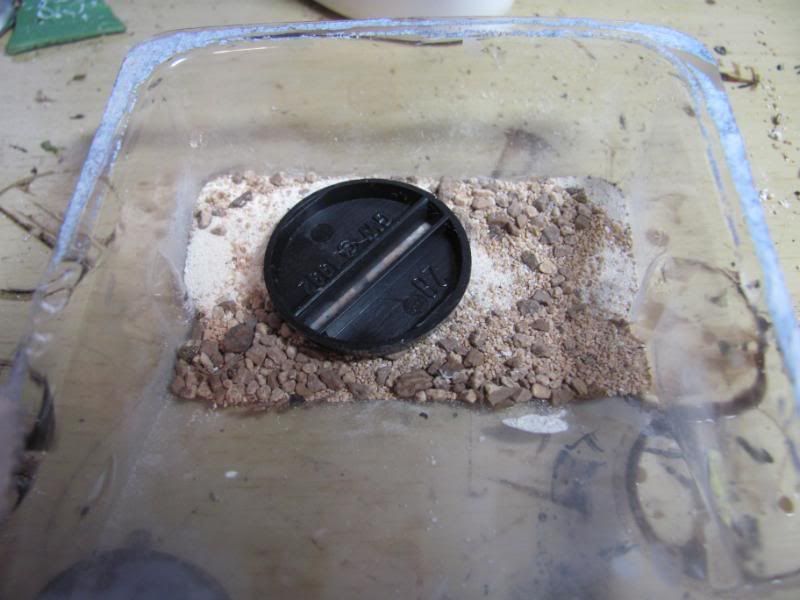
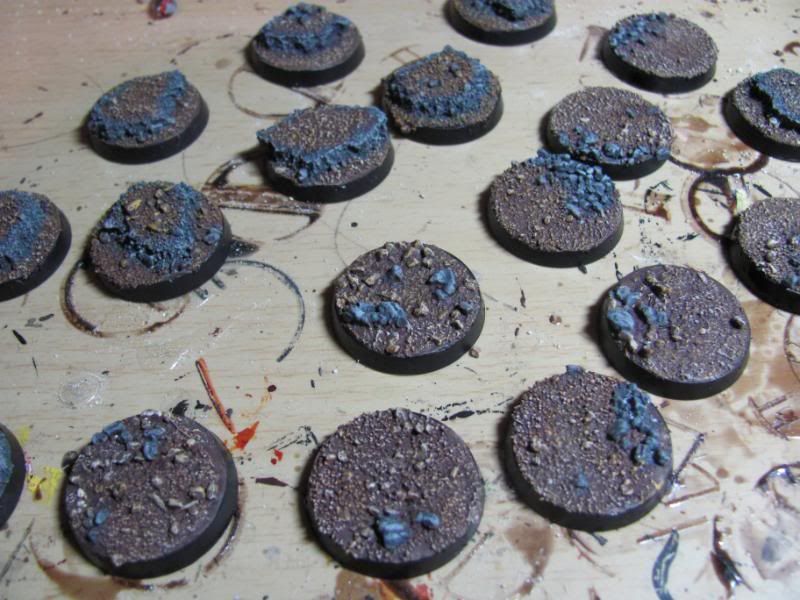
Step 3. Add sand
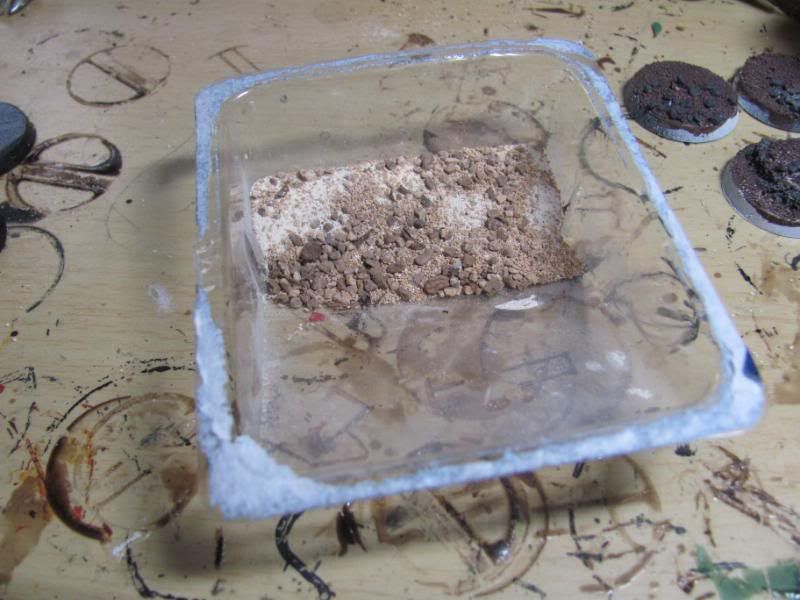
For this step I use a mix of different materials - beach sand, model train ballast, some GW scatter I found in my drawer (not sure how it got there) - but the sky is really the limit. A nice mix gives you a lot of different shapes and textures and keeps your ground from looking too uniform.
I mixed this batch in the plastic cover of a blister pack.
Plop your glue-coated base into the mix face-down. If you've included cork on the base, you might need to flip the base over, grab a pinch of the mixture in your fingers, and sprinkle it around the edges of the cork to ensure complete coverage
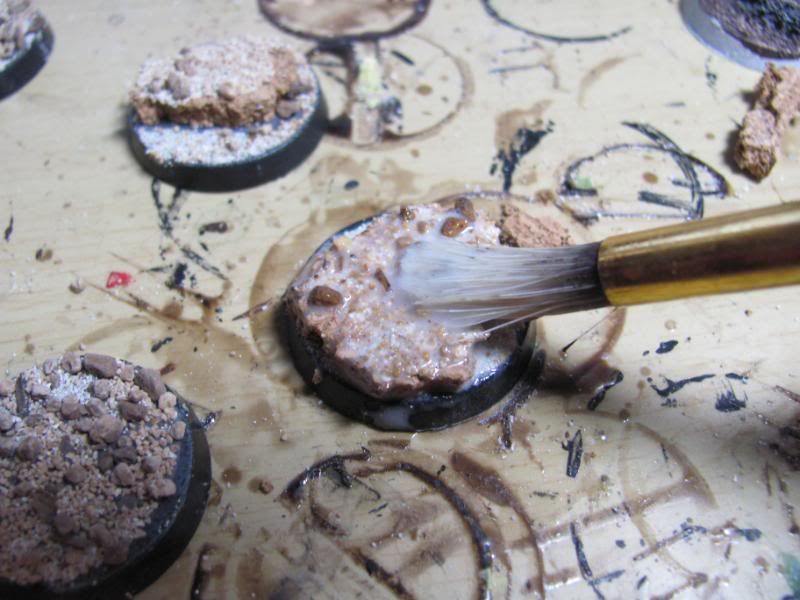
Step 4. Seal it
You could stop here. Once dry, the sand is glued on and PVA glue is a pretty good adhesive. But I use my minis a lot, and over time the flock and sand can rub off. To minimize this, I apply a layer of watered down PVA (roughly 1:1) with a crappy brush.
Its always good to have crappy brushes handy, incidentally. I bought a back of varying sizes at Walmart for around $3.
Take those bases outside and leave them in the sun and wind to dry. Watered down PVA takes a bit of time to dry off. While you're there in the outdoors, why don't you get some exercise, ya nerd!?!
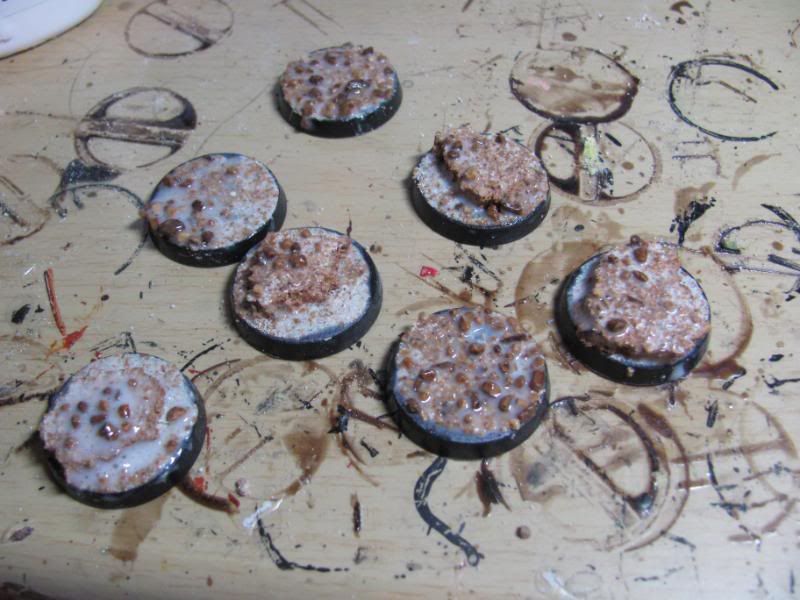
I always use at least 2 different colors on my basing. I think some variety of color looks more natural and realistic. For these I used craft paints - Folk Arts Burnt Umber and Delta Ceramcoat Charcoal - liberally applied. Where possible, I've picked out individual stones here and there to break it up further.
I always use craft paints for terrain, BTW, for no other reason than THEY'RE CHEAP!!
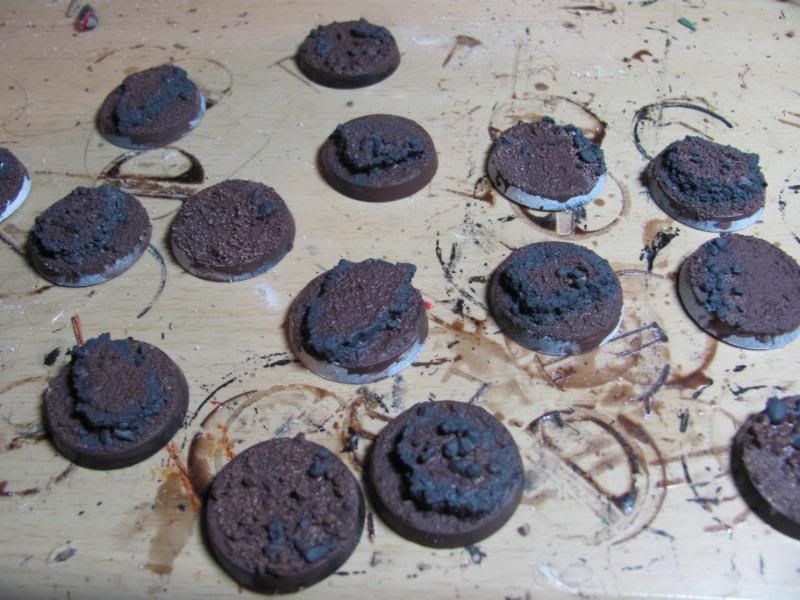
Drybrushing is entirely appropriate here. Everybody knows how to drybrush. Just pick some lighter shades and work your way up. When you're done, its also a good time to clean up the edges with whatever color you prefer. I prefer black.
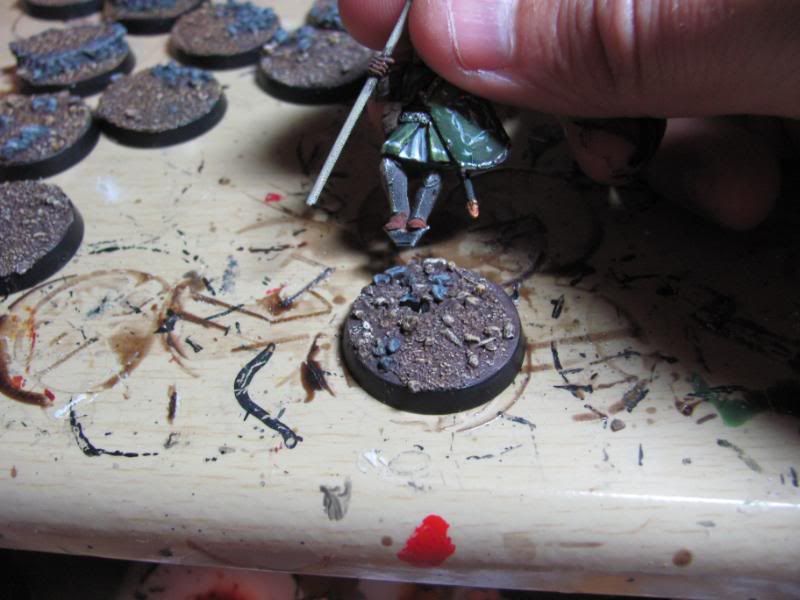
Step 6. Cut a Hole
If you spend the time to tape off the slot, eventually you have to make a hole you can anchor your mini in. For bases that don't have cork on them, you can just cut through the slot. Don't cut the entire slot, or you'll be right back where you started. Just cut enough to fit. If you used cork to augment your base, cut down from the top instead of up from the bottom.

Here you can see I've cut a hole just big enough for the trimmed down tab on the model I'm going to base
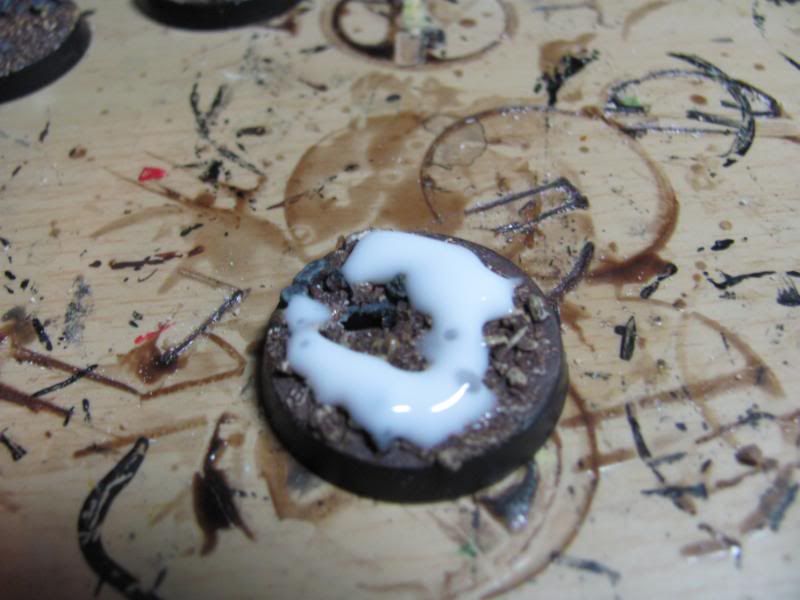
Step 7. More Glue
Break out the PVA glue again and dribble it over the base where you want the snow effect to be. Luckily PVA glue is white, so you don't have to use your imagination too much to see it as snow!
Leave the hole you just cut clear, as well as a few other spots for later
Step 8. Flock it!
Break out your snow flock and sprinkle it LIBERALLY on the base. Seriously, go heavy. If you don't, you'll be able to see the semi-transparent glue through it when it dries - which gives it kind of a melty snow/ice look, but not what we're going for.
I use Army Painter snow. Army Painter is a great company that I get absolutely nothing for pimping, and they make a lot of stuff that makes our hobby lives easier.
You can see I used the lid of the tub the snow came in so as to preserve the excess. Waste not!

Step 8. Shake it off
Next morning, shake the excess snow off (into the tub it came in) and, VOILA! Instant winter wonderland.

Step 9. Finish Him!!
From here, basing is pretty standard. Glue the mini in the hole

Add some static grass and a few brush bristles. I use Honey Wheat static grass from Woodland Scenics and bristles from a cheap brush set I bought at Home Depot.
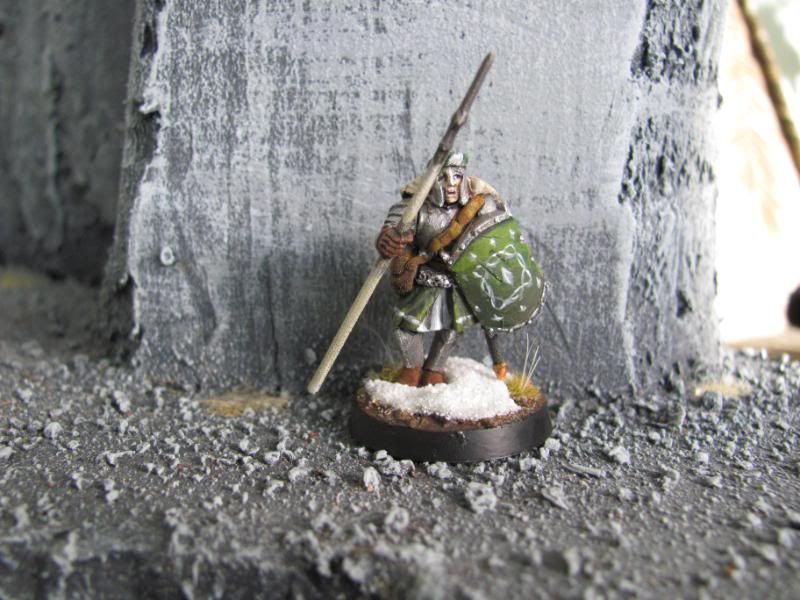
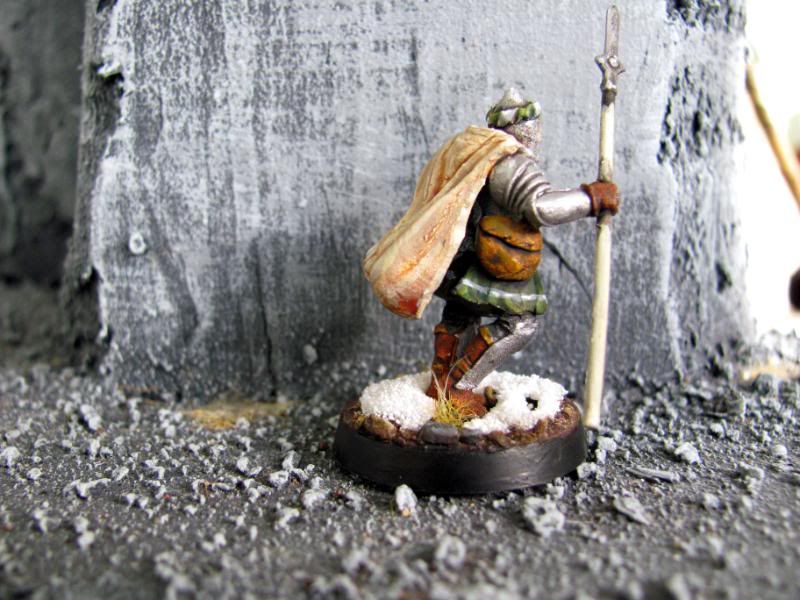
And you're done! Only 50 more to go! I hope you find this tutorial more enjoyable than I did making it.