Monday, March 7, 2011

Switching Gears - Back to Fornost

While the February Project is 90% finished, I've decided to take a little break and get back to my own stuff.

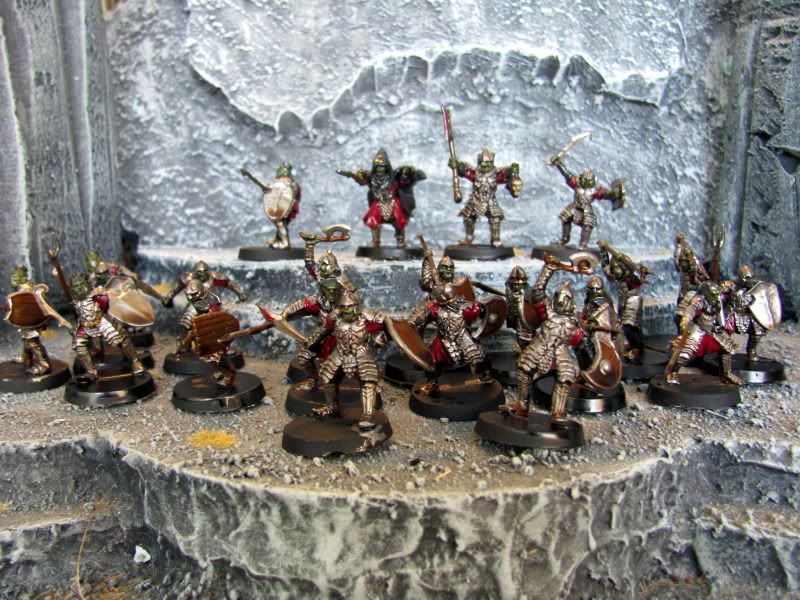
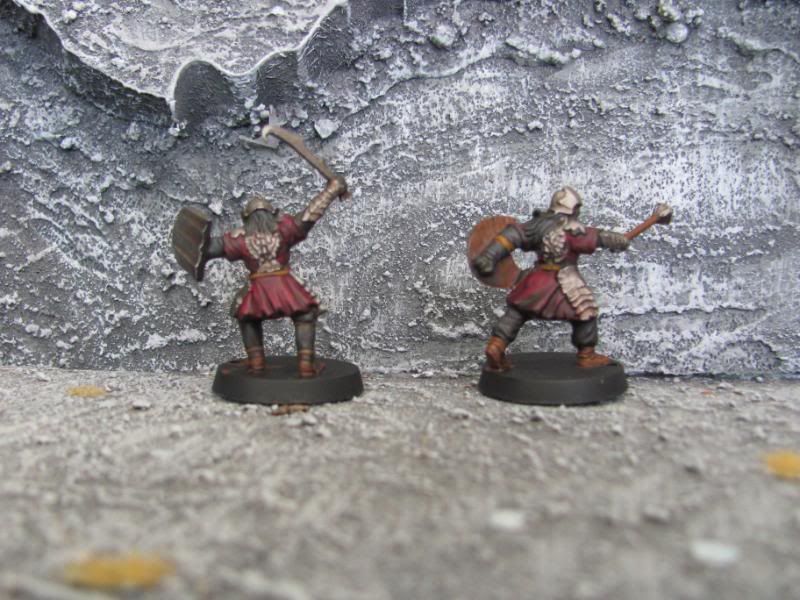
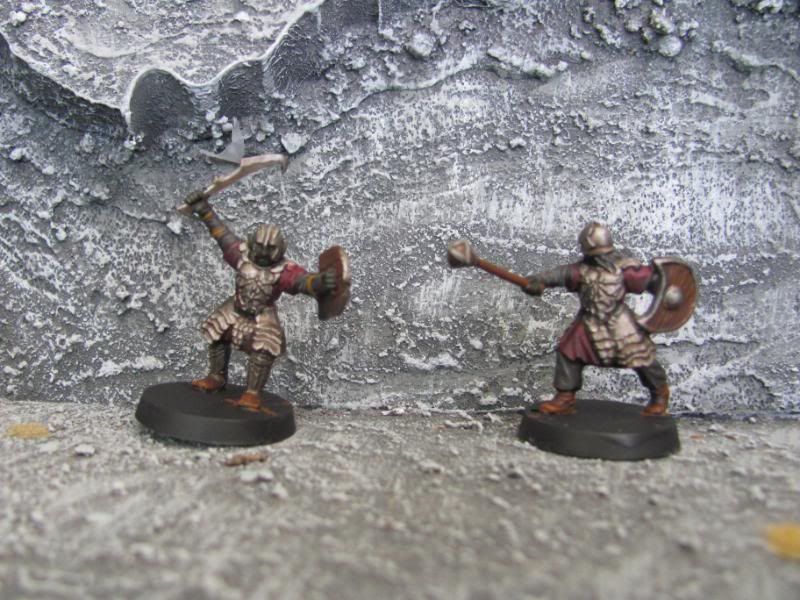
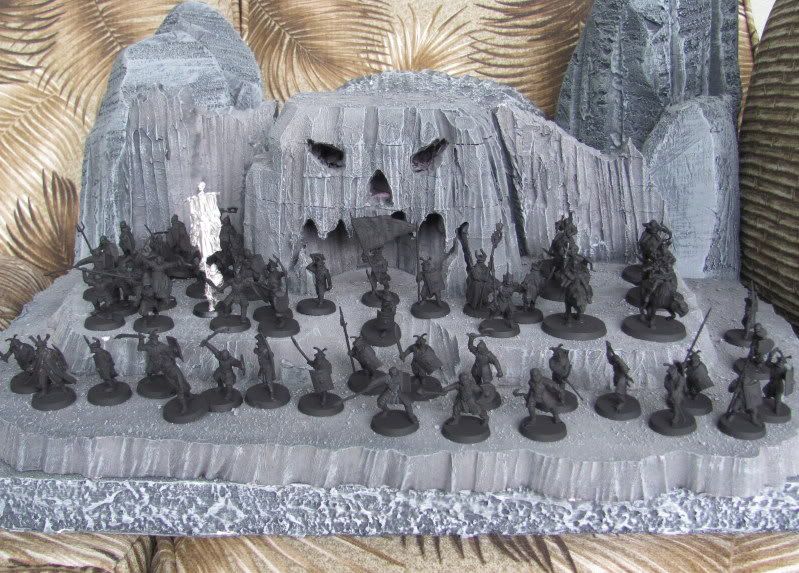
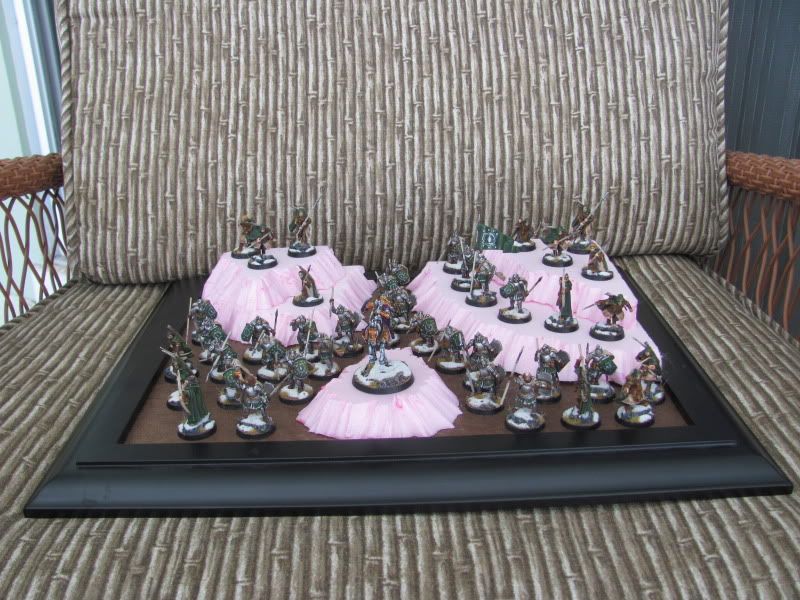
Case in point, my Fornost Veterans need a home.  I don't have any really brilliant ideas for a display, but I broke out the foam cutter the other night and came up with this:


The set up is a bit of a departure for me when it comes to displays for a couple reasons

  • I usually like symmetry on displays, but I'm playing with the balance on this one; sacrificing visuals for what I hope will be realism.
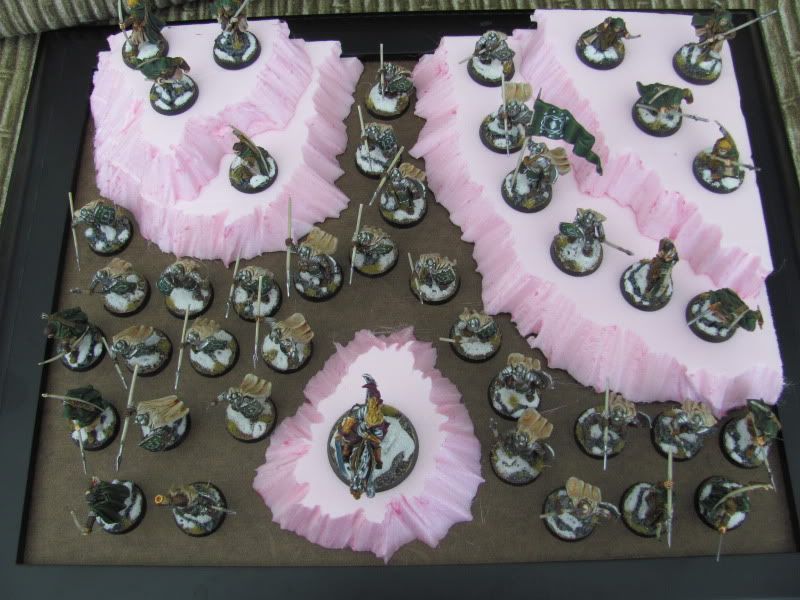
  •  Most of the time I build layers front to back so that all the models can be seen.  This time, I've raised up Glorfindel's spot to make him look suitably heroic - leading the remnants of Fornost's forces out of the hills in ambush.
  • Its a lot smaller than previous displays.  Sometimes I find its difficult to store my displays inbetween games, and I'm also looking towards ease of packing for travel.  Not sure this is working.  The display is pretty crowded "as is."
Here's the top-down shot:


Front-Left:


Sunday, February 27, 2011

How to save your dipped models from the dreaded Dullcote Frost

For anyone who has dipped models, you know that there are things about the practice that can be aggravating.

Sticky Fingers - or really, sticky everything.  Furniture varnish (or whatever Army Painter's Quickshade is) is sticky stuff and with all the dipping, shaking, and touchup you have to do you're bound to get it somewhere you don't want it.  Unfortunately, the only way you can clean it up is with paint thinner.  Soap and hot water ain't got nothin' fer it.

Shaking it off - Part of the process of proper dipping involves shaking the dipped model - preferably against newspaper or an old plastic tarp - to remove excess dip.  I've come to dread this stage because inevitably a model or two will slip out of the pliers I use to dip them and either break or get covered in dirt and debris as it goes sailing off into the garage.  I'm sure somewhere in there there's a joke about shaking it too much. . .

But the most aggravating thing about dipping only happens at the very end of the process - making it more than merely aggravating.  Depending on the project it can be soul-crushing, as you find your finished models transformed by. . .


DULLCOTE FROST

That's right, that wicked intersection of Testors Dullcote spray and airflow that takes you from nearly completed model to useless garbage in 15 minutes of drying time.  Its not Testors' fault.  Any matte spray can give you the effect.  Dullcote is just a really popular, and effective brand.

No, no, the evil twin in this dastardly duo air.  A cool breeze, a workstation fan, even just blowing on the miniature will do it.  And Dullcote reeks of alcohol, so spraying the stuff indoors can be problematic - unless you want to incur the enmity of the rest of the inhabitants of your house as you drive them outdoors.

Take a look at the picture below:


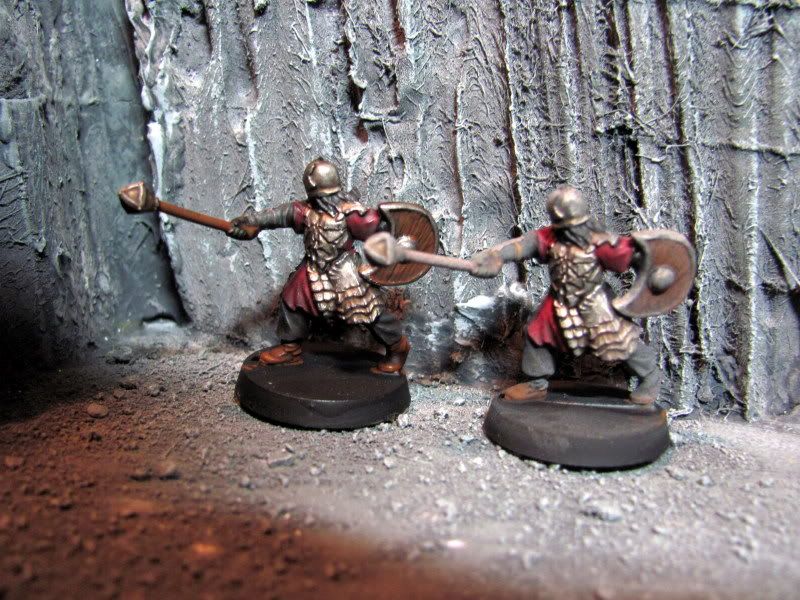
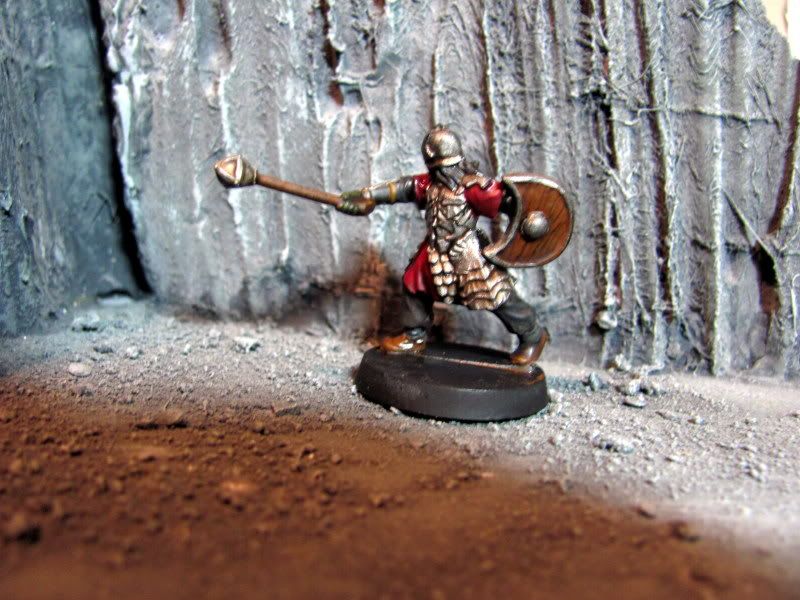
Here you have two identical models, dipped and dullcoted on different days.  One came out perfect, the other looks like he's been riding the shelf in the game store for years and has collected the hoar of ages on his shoulders.  Its enough to make a grown man cry.  Not me, though. . .uh, some other grown man. . .

Anyway, no need to fret anymore, for I have discovered a cure and its found on your supermarket shelf.  Indeed, you might already have it in your pantry.  I know I did!


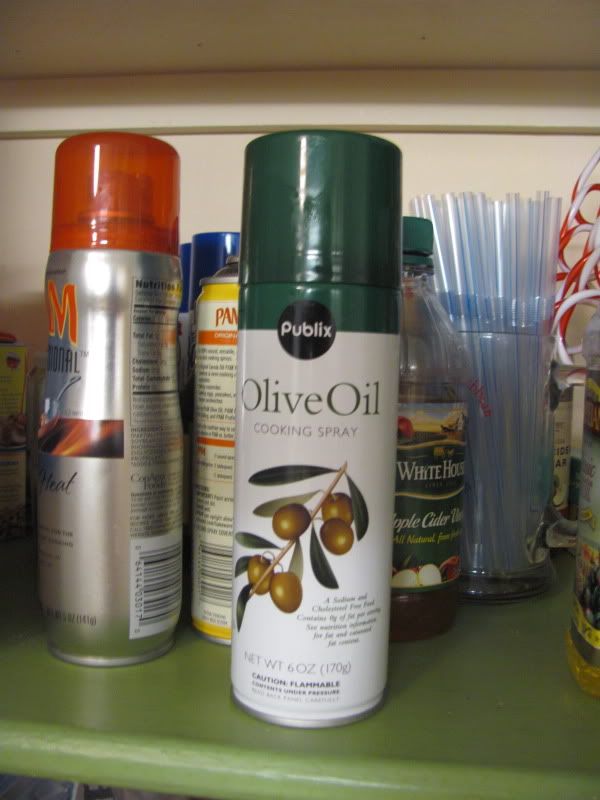
That's right, olive oil spray.  The kind us hippies spray in pans to prevent food from sticking.  Regular olive oil would work too, but would probably be much messier and less convenient.  Other spray oils would probably work as well.  You can see Pam there in the picture.  I don't know what goes into Pam, but olive oil is olive oil and it works really well so I've never tested anything else.

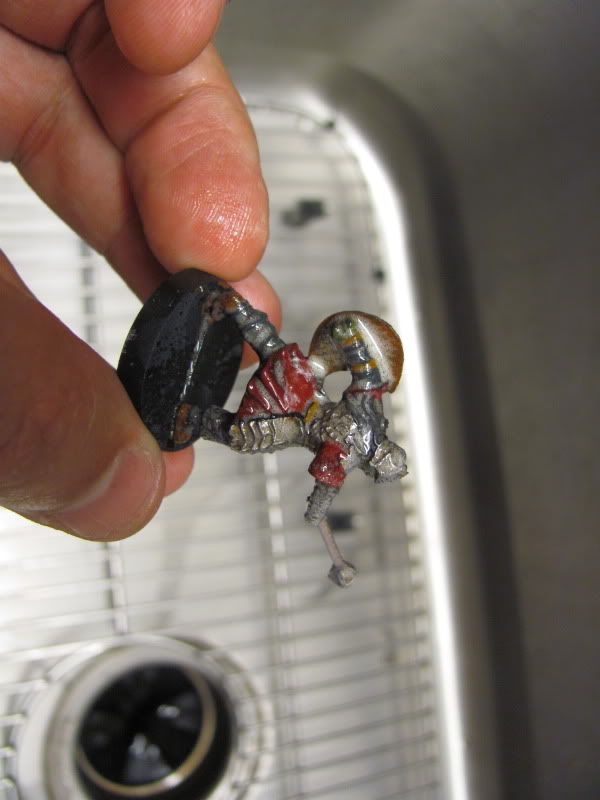
Take that ruined mini and spray it down on both sides.  It doesn't take a lot, but you want it coated for best results.  I recommend doing it over the sink for easy cleanup.

Once you've coated the model, rub it down with a soft cloth or shammy.  You can just use your fingers, but a cloth will allow you to easily get into the nooks and crannies.  You'll see the color start to return immediately.  You'll also get that glossy shine back - like before you sprayed it.


At this point, you might decide, "screw Dullcoting it.  I'll take the shine over frost," and I wouldn't blame you.  After all, there's nothing like rework for taking the joy out of a task.  However, you can absolutely re-apply Dullcote once the oil has a day to dry, and it will work as intended.

The scenario above has happened to me many times.  Discovering this fix was a life saver for me.  I hope you find it helpful too.   


Oh, and I've got all the Morranons dipped and ready to re-dullcote - once I spend an evening oiling them up.
Thursday, February 24, 2011

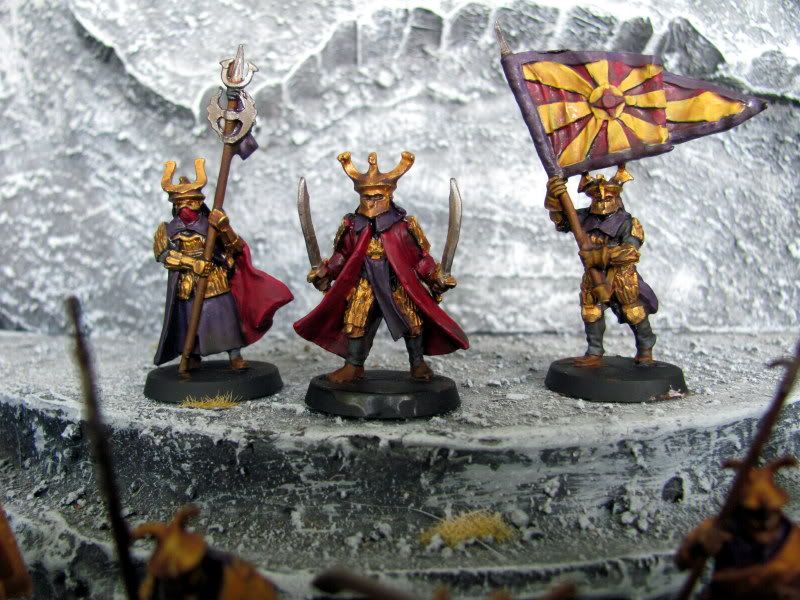
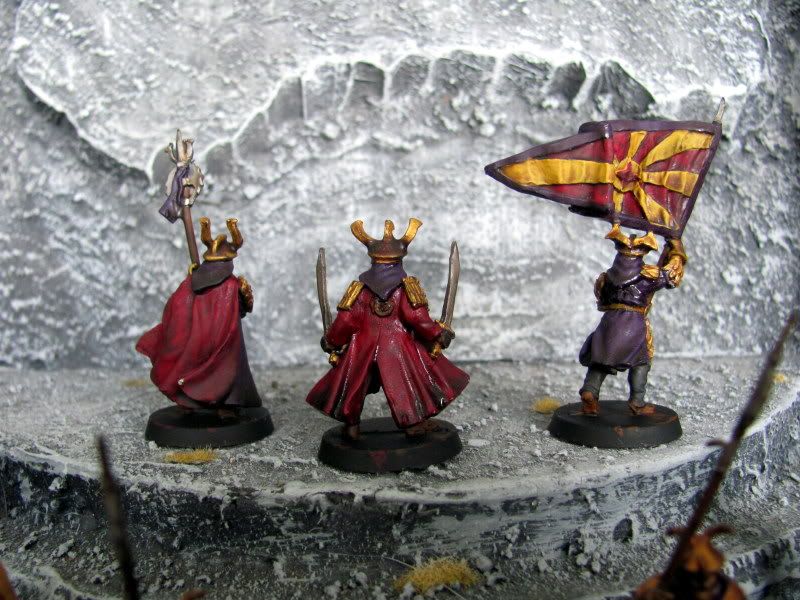
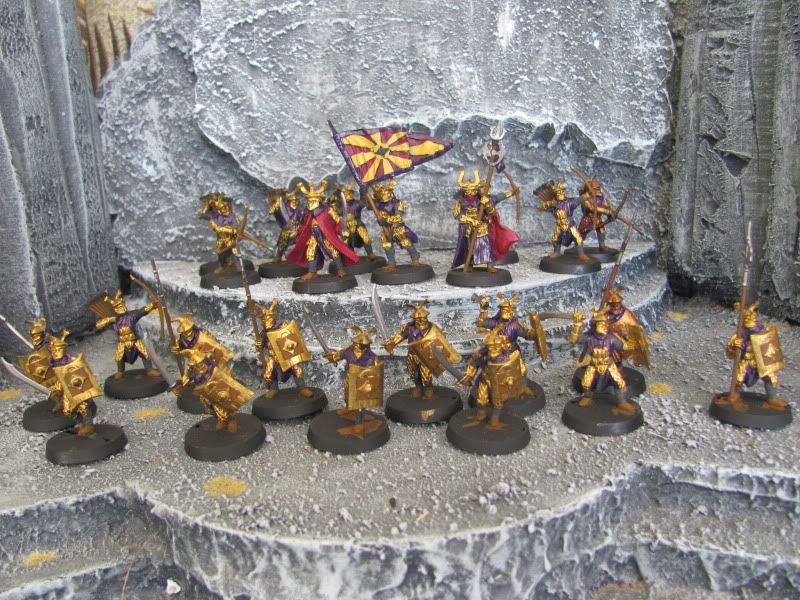
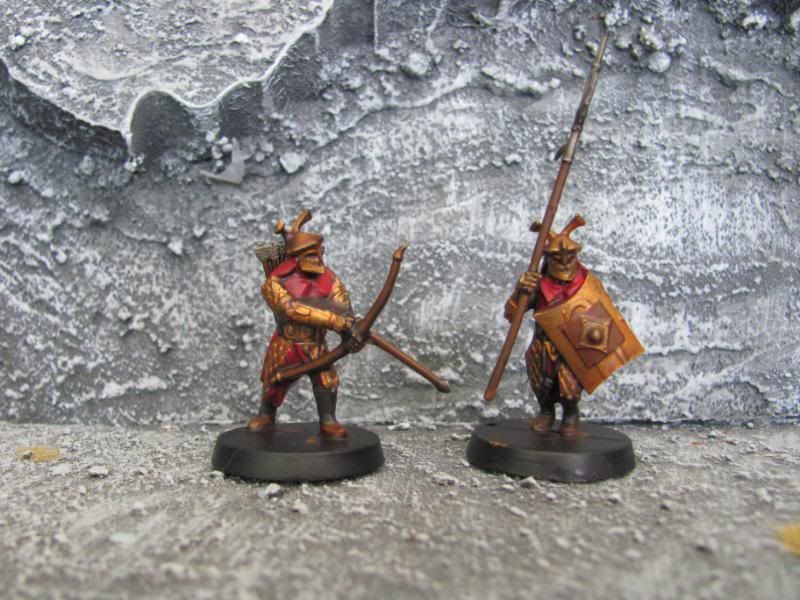
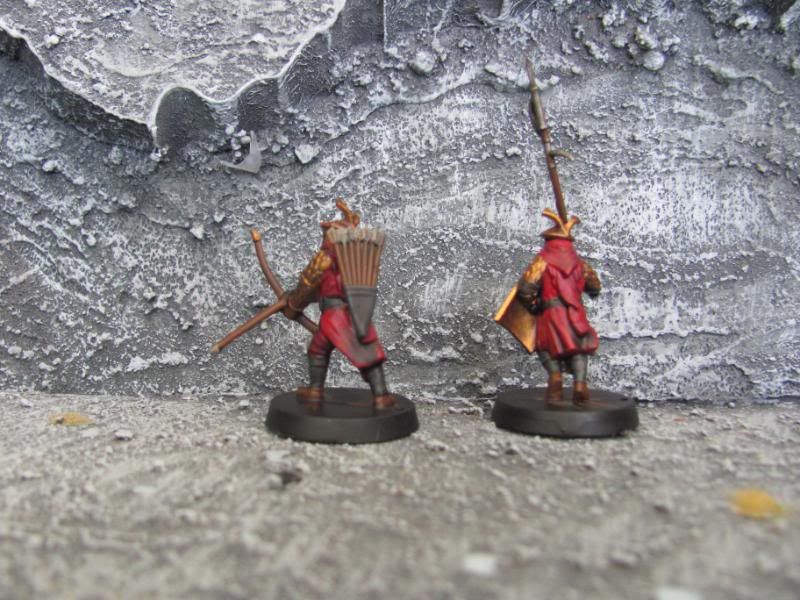
Easterlings Complete

Testers Dullcote applied, and this group is in the books

Well, OK, they haven't been based yet, but I won't do that until the Morannons are finished.  And the Morannons, BTW, are one color and some touch-up away from the dip themselves.


Here's a tighter shot of the command models


Saturday, February 19, 2011

Easterlings ready for dip

I took this week to base coat the Easterling portion of my February Project.

Though I tested the colors with Blood Red for the cloth, I wasn't happy with the appearance and switched to purple.  My original concern with purple was that the models would come out looking like Minnesota Viking* fans , but that fear appears to be unfounded.  :-)

Colors


Armor:  Burnished Gold
Weapons:  Bestial Brown, Boltgun Metal
Tunic: Vallejo Game Color Liche Purple**
Capes:  Scab Red
Boots and Shield Inset:  Bestial Brown
Pants and Sleeves:  Delta Ceramcoat Charcoal


They may not look like much right now, but the dip (Army Painter Medium) will sort them out nicely.  There are a few details left to hit (mostly on the banner), but they will be dipped on Sunday and Dullcoted on Monday.  Then its on to the Morannons!

I think I'm right on schedule to have this project wrapped up by March 1st.

*I'm actually a Minnesota Vikings fan, but my customer does not necessarily share my affinity

**This color took two coats to pull off and its still dark.  A good argument against priming black, IMO.  The first coat was my standard dillution of 1:1 and was so dark it was almost indistinguishable from the black undercoat.  

Saturday, February 12, 2011

A couple of test models

I started playing around with colors for the February Project.  I went into it knowing what I wanted for a color scheme, but when you're using dip its not always clear how different tones will come out.

In this case, the Morannon Orcs were easy:

Skin - Catachan Green - could probably go lighter
Metal - Boltgun
Tunic - Scab Red
Boots & Wood - Bestial Brown
Pants & Sleeves - Charcoal (Delta Ceramcoat)


The Easterlings were a little bit more of a problem.  The models are really simplistic, and I just tried to follow the color scheme Weta and GW came up with.

Armor - Shining Gold - should probably be Burnished Gold
Weapons - Boltgun
Cloth - Charcoal & Blood Red - should probably be Scab Red
Boots & Wood - Bestial Brown


I think these guys turned out altogether too dark, but a brighter gold will help bring it up.  Using Scab Red will help them fit in with the Morannons, and though its darker than the current color it should be a nice contrast.

Saturday, February 5, 2011

My February Project

Kicking off another army for the month of February.  This is a commission project and will be a simple basecoat and dip job.

Here's the motley crew of Morannons and Easterlings

Monday, January 24, 2011

Snow Basing

Before tackling the basing on my Arnor army, I did a lot of research into how to make good, long lasting winter bases.  This tutorial represents the SUM OF ALL MY KNOWLEDGE!!!!


Which is to say, its the method I settled on and it works pretty well.  Use at your own discretion.


Good basing makes a huge difference in the appearance of a miniature.  And unlike some of the fine detail work and time spent on painting, every bit of extra detail you add to your bases actually pays off.  People may struggle to see the amount of layers you've applied in your paint job, but anyone can see basing details!


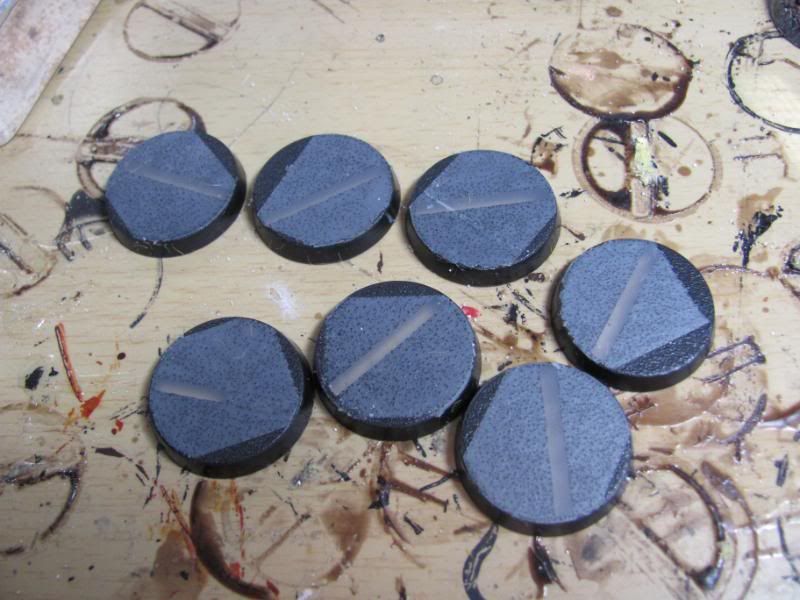
Step 1.  Taping


If you use slotta-style bases, there's one big obstacle to your scenic basing job - the slot.  I use regular transparent tape to cover it.  Some folks use masking tape.  I never seem to have masking tape when I need it, but I always seem to have transparent, gift-wrapping tape.  Just pull off a length of it, stick it on, and trim around the edges with a hobby knife to get rid of the excess.


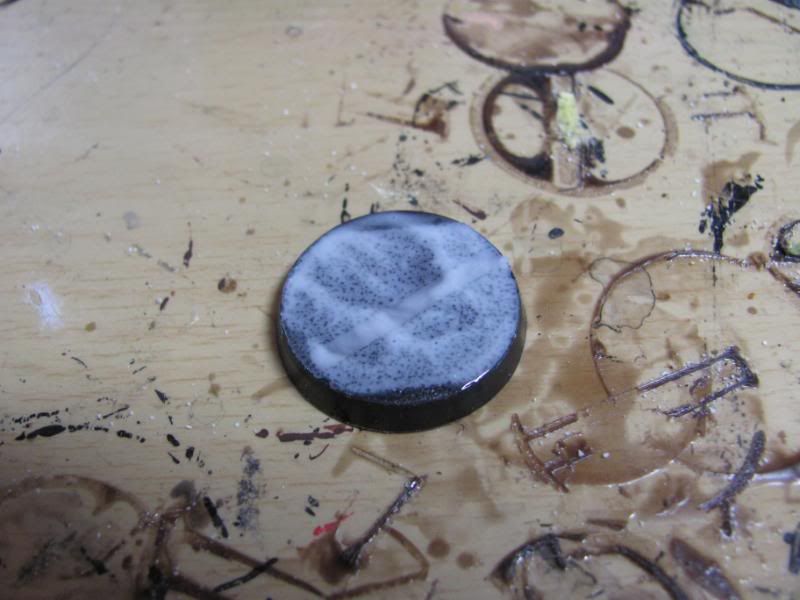
Step 2. Bring on the Glue


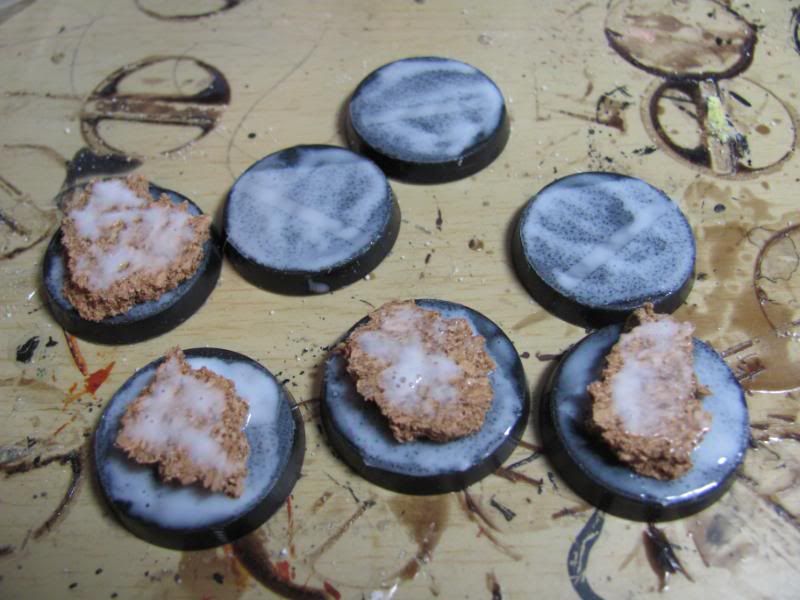
Using PVA (or Elmer's, or School, etc) glue, coat the tops of the bases.  I like to apply the glue liberally to one of the bases and then smear it against another base so I only have to apply the glue to about half of them.  You get a nice even coat on both bases this way.


Now is also a good time to add cork.  I use generic drink coasters that you can buy at craft stores (Michaels, Hobby Lobby, etc.) and break them into small pieces.  Just stick the cork to the glue-coated base and then coat the top of the cork as well.


Step 3.  Add sand


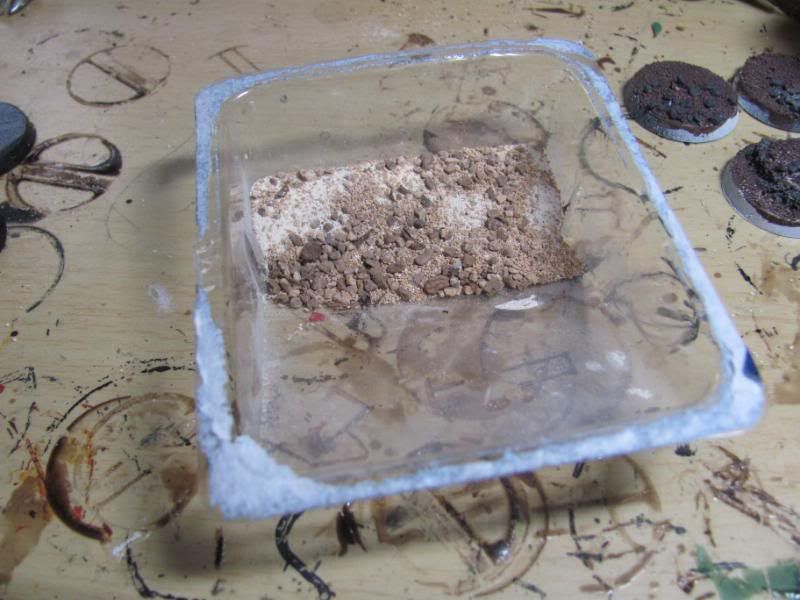
For this step I use a mix of different materials - beach sand, model train ballast, some GW scatter I found in my drawer (not sure how it got there) - but the sky is really the limit.  A nice mix gives you a lot of different shapes and textures and keeps your ground from looking too uniform.


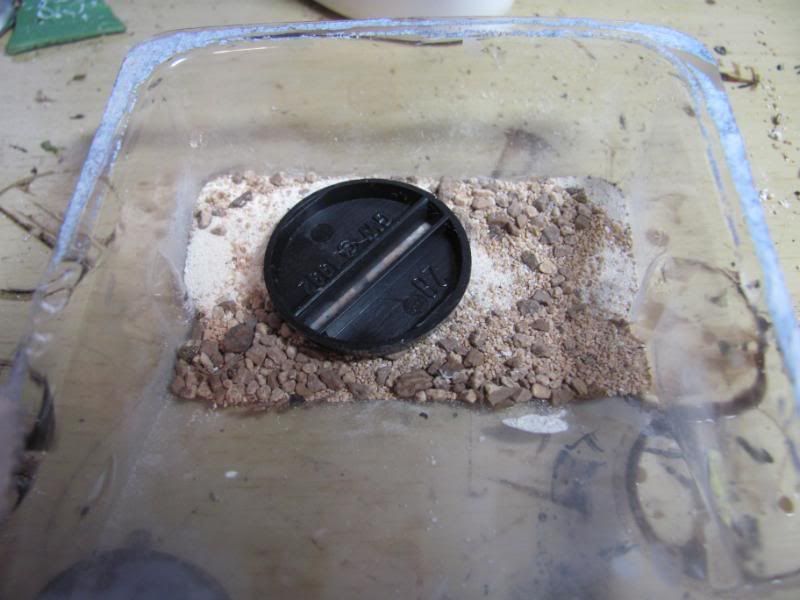
I mixed this batch in the plastic cover of a blister pack.


Plop your glue-coated base into the mix face-down.  If you've included cork on the base, you might need to flip the base over, grab a pinch of the mixture in your fingers, and sprinkle it around the edges of the cork to ensure complete coverage


Step 4.  Seal it

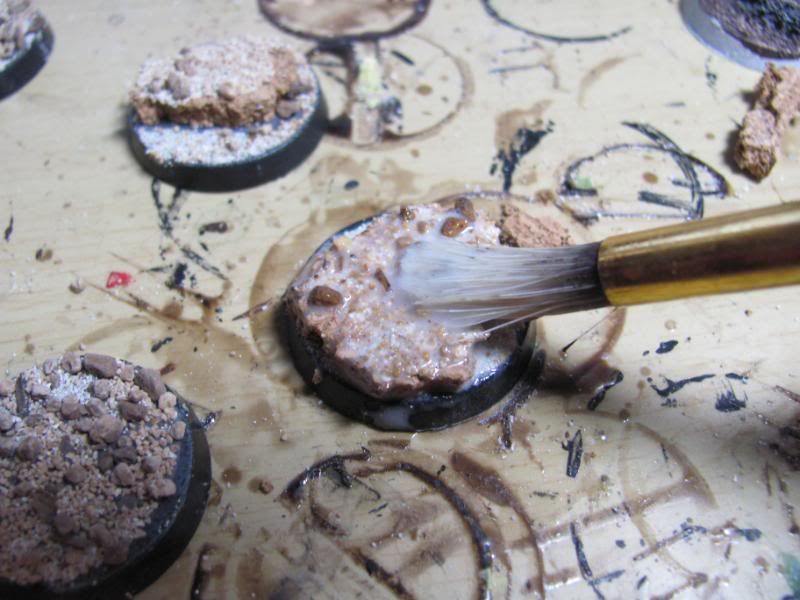
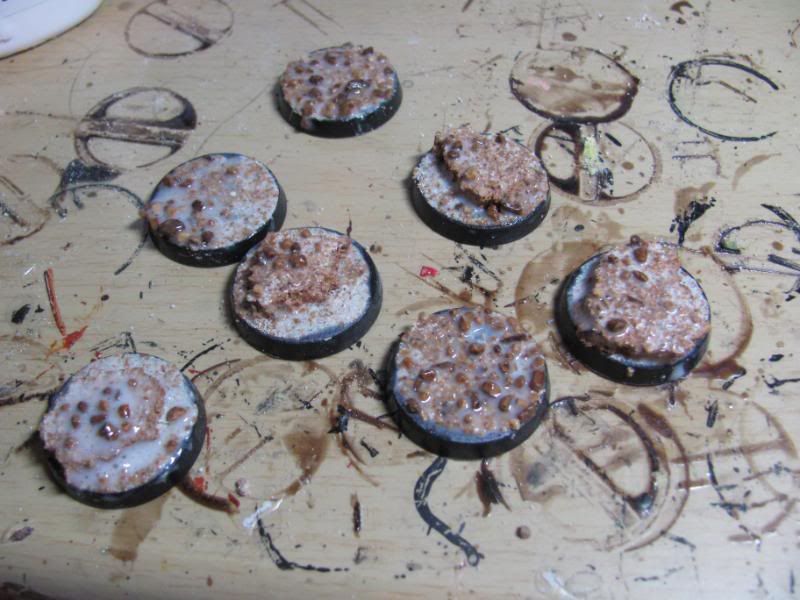
You could stop here.  Once dry, the sand is glued on and PVA glue is a pretty good adhesive.  But I use my minis a lot, and over time the flock and sand can rub off.  To minimize this, I apply a layer of watered down PVA (roughly 1:1) with a crappy brush. 

Its always good to have crappy brushes handy, incidentally.  I bought a back of varying sizes at Walmart for around $3.


Take those bases outside and leave them in the sun and wind to dry.  Watered down PVA takes a bit of time to dry off.  While you're there in the outdoors, why don't you get some exercise, ya nerd!?!


Step 5. Paint it

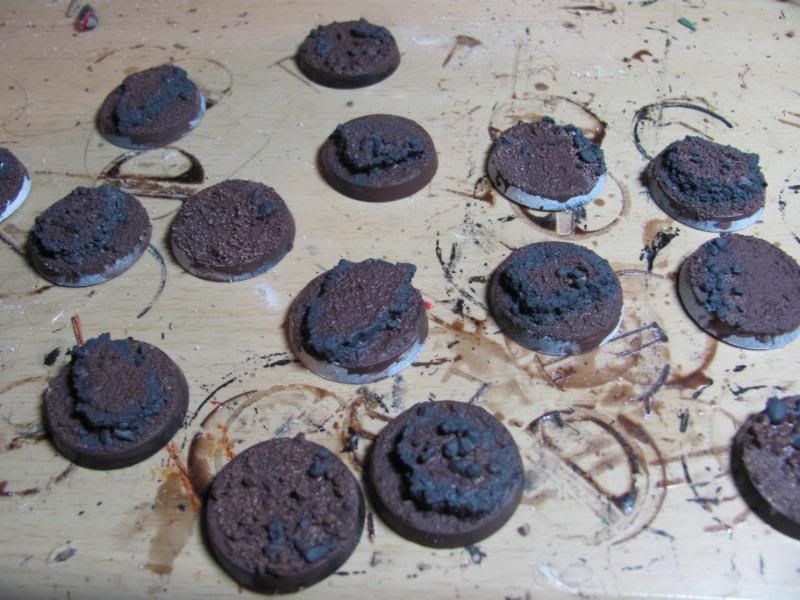
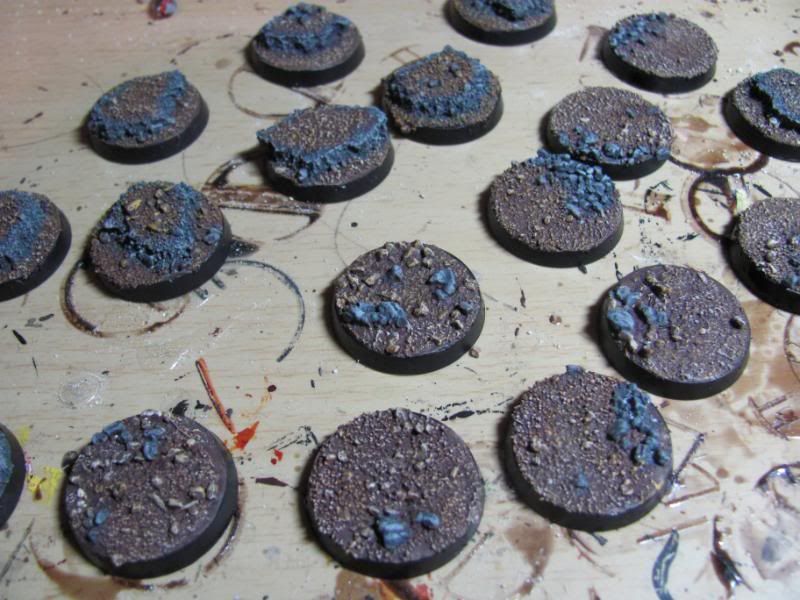
I always use at least 2 different colors on my basing.  I think some variety of color looks more natural and realistic.  For these I used craft paints - Folk Arts Burnt Umber and Delta Ceramcoat Charcoal - liberally applied. Where possible, I've picked out individual stones here and there to break it up further.

I always use craft paints for terrain, BTW, for no other reason than THEY'RE CHEAP!!


Drybrushing is entirely appropriate here.  Everybody knows how to drybrush.  Just pick some lighter shades and work your way up.  When you're done, its also a good time to clean up the edges with whatever color you prefer.  I prefer black.


Step 6. Cut a Hole


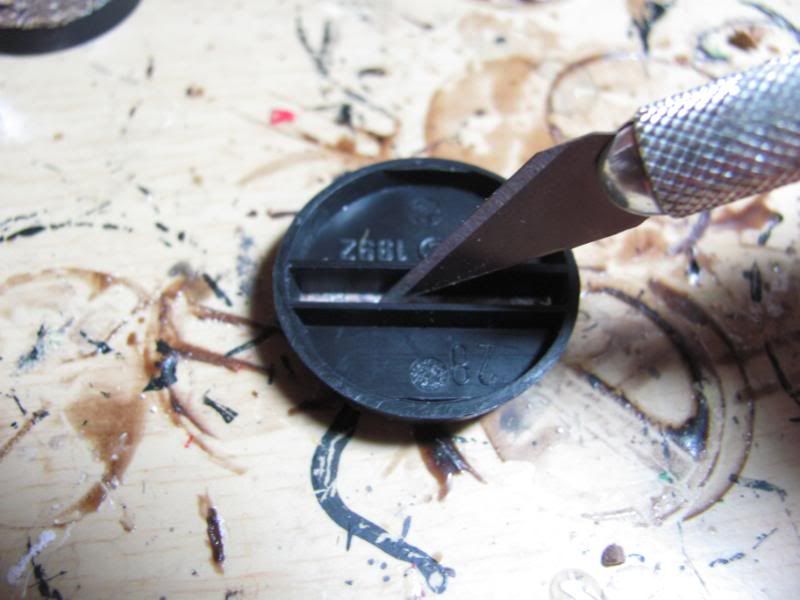
If you spend the time to tape off the slot, eventually you have to make a hole you can anchor your mini in.  For bases that don't have cork on them, you can just cut through the slot.  Don't cut the entire slot, or you'll be right back where you started.  Just cut enough to fit.  If you used cork to augment your base, cut down from the top instead of up from the bottom.


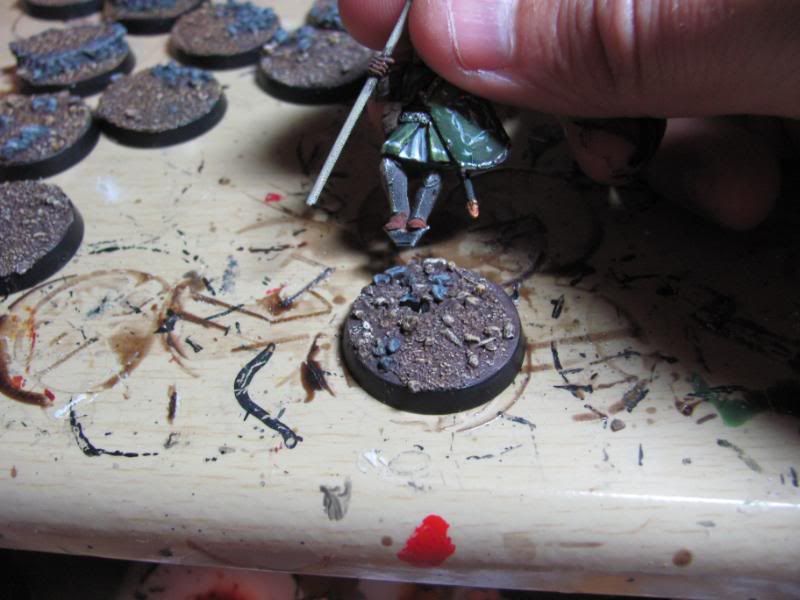
Here you can see I've cut a hole just big enough for the trimmed down tab on the model I'm going to base


Step 7.  More Glue

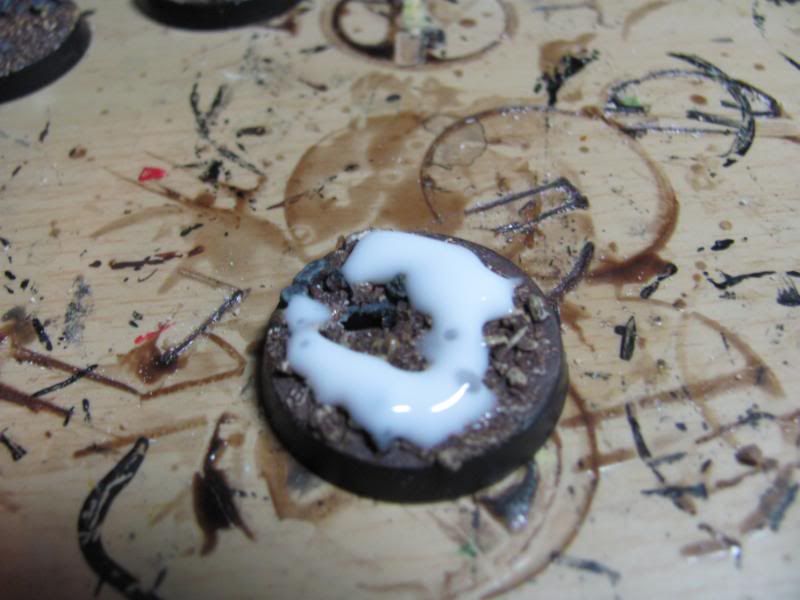
Break out the PVA glue again and dribble it over the base where you want the snow effect to be.  Luckily PVA glue is white, so you don't have to use your imagination too much to see it as snow!

Leave the hole you just cut clear, as well as a few other spots for later


Step 8.  Flock it!

Break out your snow flock and sprinkle it LIBERALLY on the base.  Seriously, go heavy.  If you don't, you'll be able to see the semi-transparent glue through it when it dries - which gives it kind of a melty snow/ice look, but not what we're going for.

I use Army Painter snow.  Army Painter is a great company that I get absolutely nothing for pimping, and they make a lot of stuff that makes our hobby lives easier.

You can see I used the lid of the tub the snow came in so as to preserve the excess.  Waste not!


Step 8.  Shake it off

Next morning, shake the excess snow off (into the tub it came in) and, VOILA!  Instant winter wonderland.


Step 9.  Finish Him!!


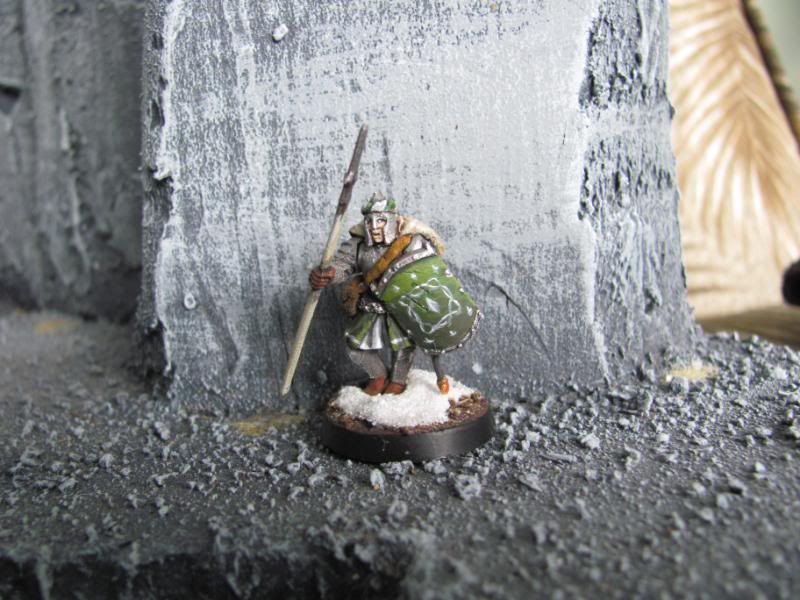
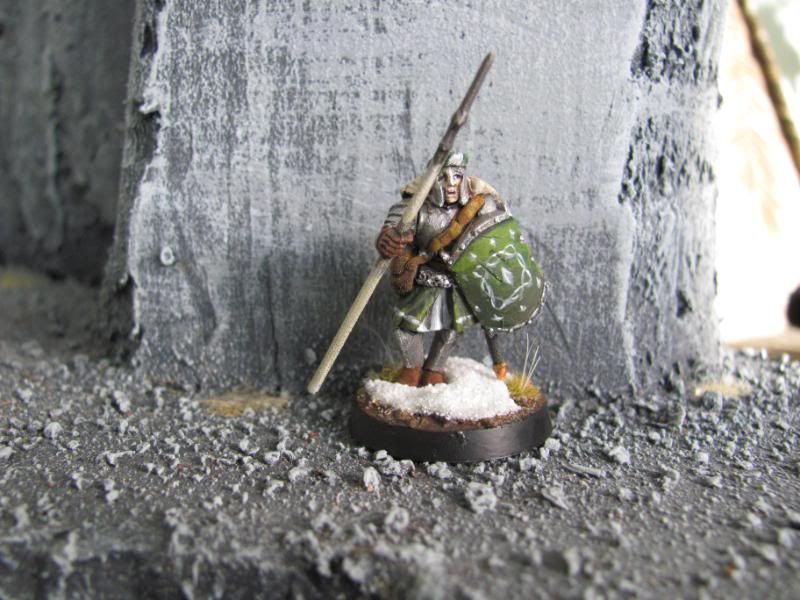
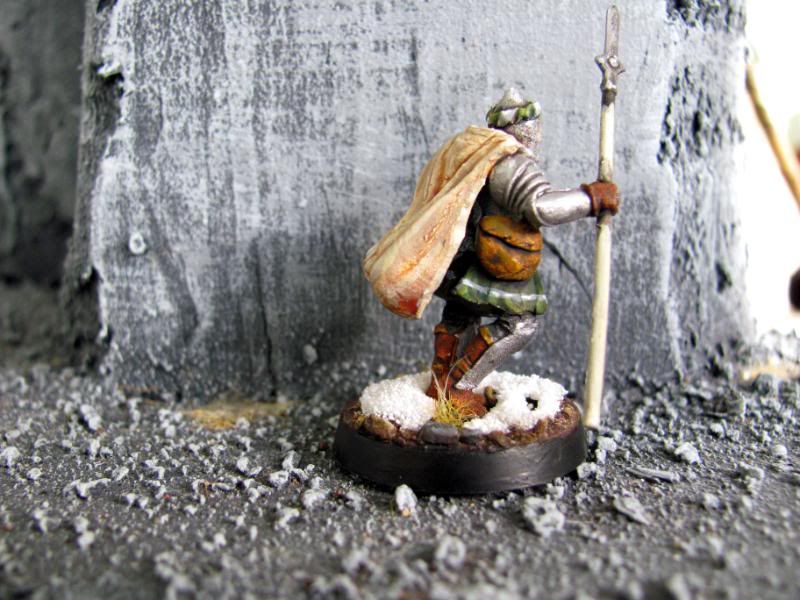
From here, basing is pretty standard.  Glue the mini in the hole


Add some static grass and a few brush bristles.  I use Honey Wheat static grass from Woodland Scenics and bristles from a cheap brush set I bought at Home Depot.


And you're done!  Only 50 more to go!  I hope you find this tutorial more enjoyable than I did making it.